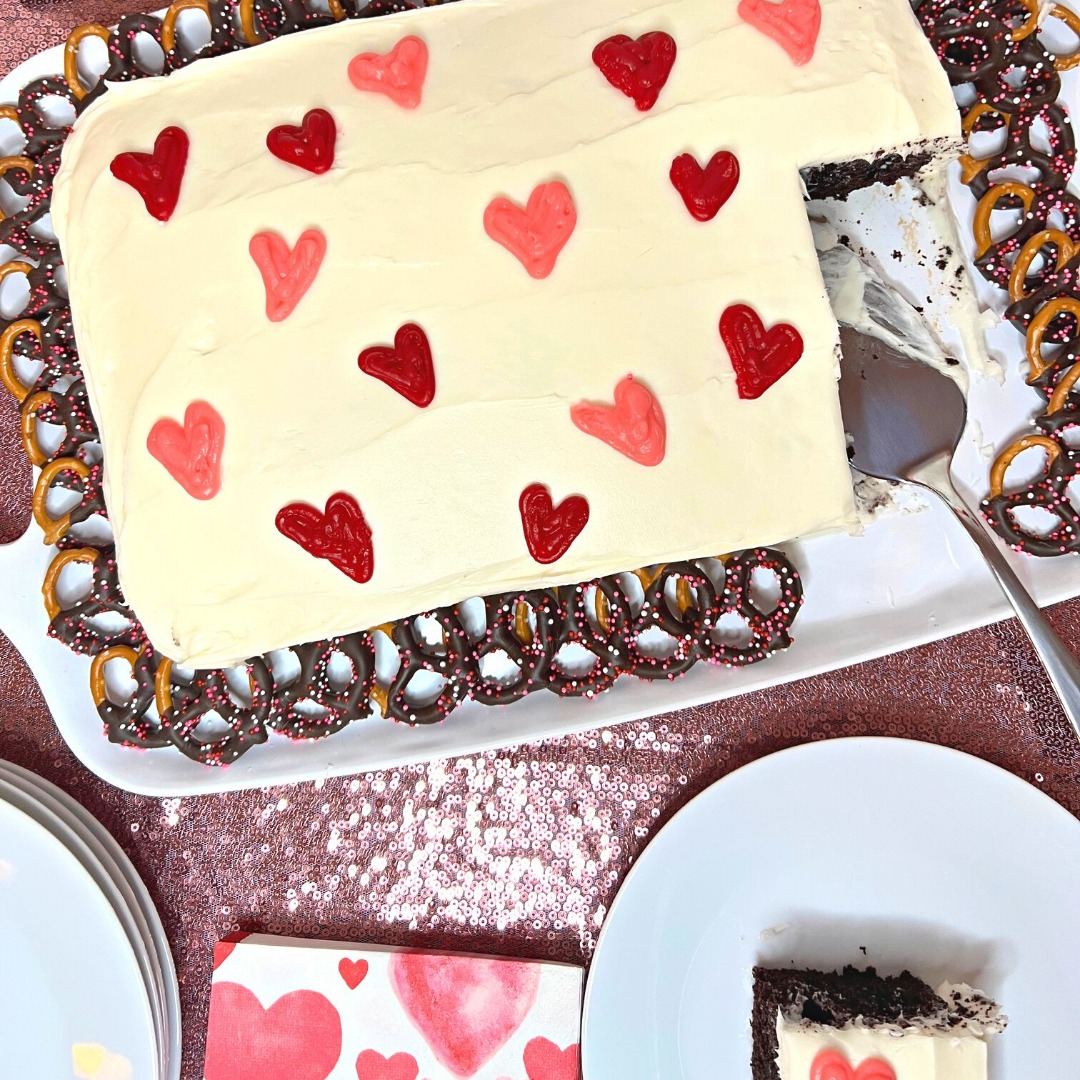
This heart-shaped Valentine Cake Balls Recipe is made with a red velvet cake mix, cream cheese frosting, and chocolate.
Related: Valentine’s Day, Valentine’s Day Cookies
This post may contain affiliate links, which means I’ll receive a commission if you purchase through my links, at no extra cost to you. Please read the full disclosure for more information.

Table of Contents: Valentine Cake Balls Recipe

Ingredients To Make A Valentine Cake Balls Recipe
This recipe calls for the following ingredients:
- Red velvet cake mix (+ ingredients)
- Cream cheese frosting
- Dark chocolate candy wafers
- Red cookie icing

Equipment To Make A Valentine Cake Balls Recipe
- Mixing bowls
- Measuring cups
- Spatula
- Cake pans
- Cookie scoop
- Baking tray
- Wire rack
- Parchment paper
- Mini heart cookie cutter
- Green mini cupcake lines (optional)

How To Make A Valentine Cake Balls Recipe
- Bake And Cool The Cake
- Prepare The Cake Mixture
- Form The Mini Hearts
- Dip The Hearts In Chocolate
- Add The Red Stripes
Step 1: Bake And Cool The Cake
Feel free to use a cake mix or your favorite cake recipe.
I opted for a cake mix to save time.

Step 2: Prepare The Cake Mixture
Once the cake has cooled, it’s time to crumble it up in a large mixing bowl. I used my hands, but you could also use a mixer or large forks.
Note: Some recipes recommend that you crumble up the cake while it’s still warm, but I had no problem breaking it up after I chilled it in the fridge.

Next, add a container of frosting and mix well.
Chill the dough for 30 mins in the freezer, so that the cake doesn’t stick to your hands in the next steps.


Step 3: Form The Mini Hearts
First, line a baking tray with parchment paper.
Next, roll the cake dough into balls, about ⅛ cup of dough each.

Then, using a small heart cookie cutter, create the heart-shaped cake balls.
Place the cake balls onto a wire rack positioned on top of a baking tray.


Step 4: Dip The Football Cake Balls In Chocolate
Melt the chocolate in a microwave-safe bowl, being careful not to overheat the chocolate.
Fill the cookie scoop with melted chocolate and pour the chocolate onto the heart-shaped cake ball.
Repeat for remaining cake balls.
Important Note: be very gentle when removing the cake balls from the wire rack. It’s easy for the cake and chocolate to get stuck to the wire and for the chocolate to crack when removing. Patience is key here.

Step 5: Add The Red Stripes
Once the chocolate has hardened, at the red stripes.
I think it’s easiest to use cookie icing for this step, but you could also use red chocolate.
Important Note: if using cookie icing: wait to apply the icing until you plan to serve the cake balls.

Valentine Cake Balls Recipe Notes
How To Store Cake Pops
Store football cake balls in an airtight container in the refrigerator for 3 days.
Planning for Quantity
This recipe makes about 30 cake balls. If you don’t need 30 cake balls, you have a couple of options:
- Split the cake batter in half and make Valentine cupcakes with the other half (reminder then you will need half the amount of frosting and chocolate for the cake balls).
- Freezer the cake balls (see notes below).
How To Freeze Cake Balls
Cake balls (prep chocolate coating) freeze well! To freeze cake balls, place the cake balls in a freezer bag right before the step when you cover them with chocolate (after you chill the dough in the freezer).
It’s important to chill the cake balls before placing them in the freezer bag so they don’t get stuck together or lose their shape.
Note, I have not attempted to freeze chocolate-covered cake balls. However, if you give this a try, I would love to know how it goes!

Substitution Options
Pick any combination of cake and frosting! In the past, I have used chocolate cake with peanut butter icing. Vanilla and vanilla would also be tasty
Tips For Melting Chocolate
Chocolate can easily burn and dry out very quickly in the microwave. To avoid this, only microwave in short intervals and stir thoroughly before microwaving again.
Notes For Using A Homemade Cake Recipe
This is completely doable! However, keep in mind, you may need to adjust the quantity of frosting.
Other Valentine Recipes You May Like
I Want To Hear From You!
Share your feedback in the comments section below!
Also, if you made these Valentine cake balls, I’d love to see them!
Tag me on Instagram at: @lifestyledbysam_

Valentine Cake Balls Recipe
Equipment
- Mixing bowls
- Measuring cups
- Spatula
- Cake pans
- Cookie scoop
- Baking tray
- Wire rack
- Parchment paper
- Gold mini cupcake liners
Ingredients
- 1 box Red velvet cake mix (+ingredients)
- 1 container cream cheese frosting
- 4 cups chocolate candy wafers
- 1/4 package red cookie icing
Instructions
Bake And Cool The Cake
- Bake and cool the red velvet cake.
Prepare The Cake Mixture
- Once the cake has cooled, it's time to crumble it up in a large mixing bowl.
- Next, add a container of frosting and mix well.
- Chill the dough for 30 mins in the freezer, so that the cake doesn't stick to your hands in the next steps.
Form The Mini Hearts
- First, line a baking tray with parchment paper.
- Next, roll the cake dough into balls, about ⅛ cup of dough each.
- Then, using a small heart cookie cutter, create the heart-shaped cake balls.
- Place the cake balls onto a wire rack positioned on top of a baking tray.
Dip The Hearts In Chocolate
- Next, add the chocolate to the large bowl and melt according to the package instructions, or follow these guidelines:Microwave on high for 45 seconds, then stir thoroughly.Microwave on high for 30 seconds, then stir thoroughly.Continue microwaving in 15 to 30-second intervals, stirring thoroughly, until all the chocolate has just about melted. (The remaining few pieces should melt on their own, and it’s a good way to ensure you don’t overheat the chocolate).
- Fill the cookie scoop with melted chocolate and pour the chocolate onto the heart-shaped cake ball.
- Repeat for remaining cake balls.
- Important Note: be very gentle when removing the cake balls from the wire rack. It's easy for the cake and chocolate to get stuck to the wire and for the chocolate to crack when removing. Patience is key here.
Add the Red Stripes
- Once the chocolate has hardened, at the red stripes using cookie icing (or red chocolate).
- Important reminder: if using cookie icing, wait to add the cookie icing until you plan to serve the cake balls.
- Enjoy!